Using xPack
- Locate the xPack shortcut on the desktop or Windows start menu
- Double click the shortcut on the desktop or single click it in the Windows start menu
You will be presented with this screen
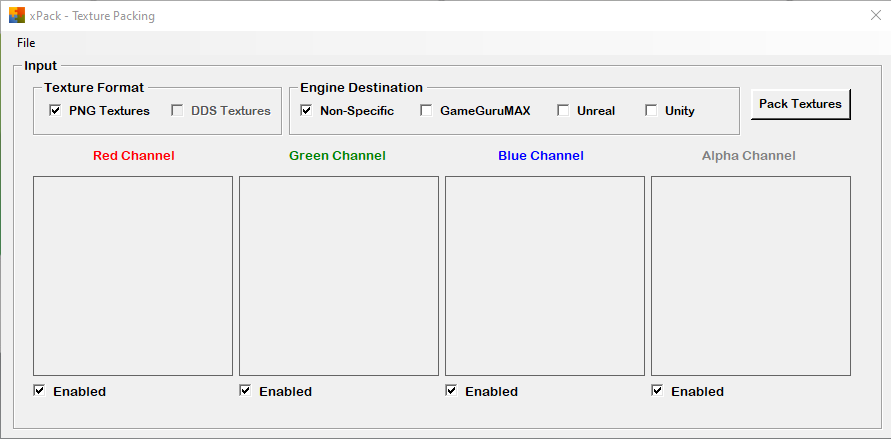
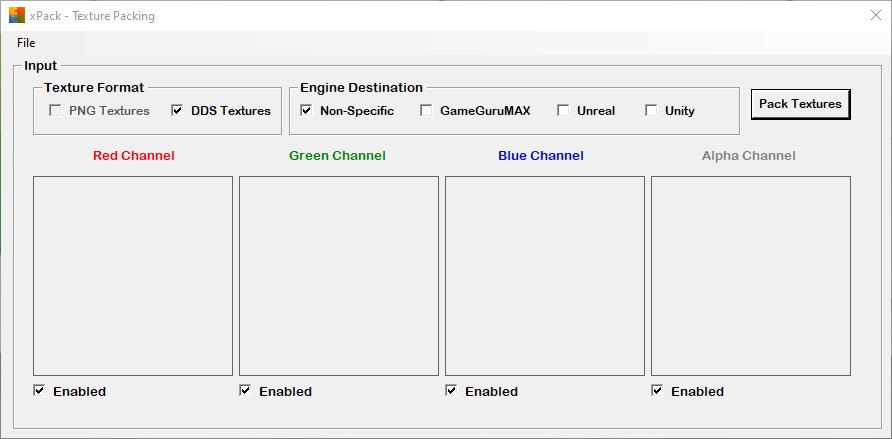
The first thing to do is choose your texture format, the default setting is PNG Textures, to use DDS Textures just untick PNG Textures
then choose one of the Engine Destinations.
****Please note input textures need to be power of 2 i.e 512x512, 1024x1024, 2048x2048 etc...
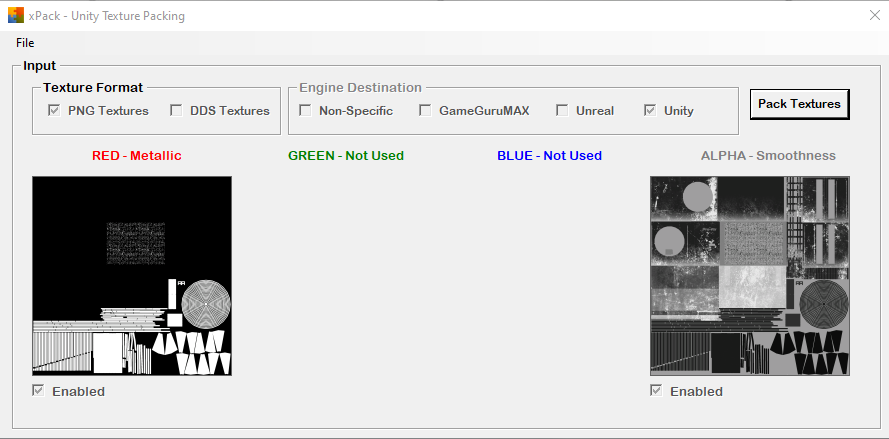
once you have selected your texture format you need to load the input maps into the correct channels, this will depend on
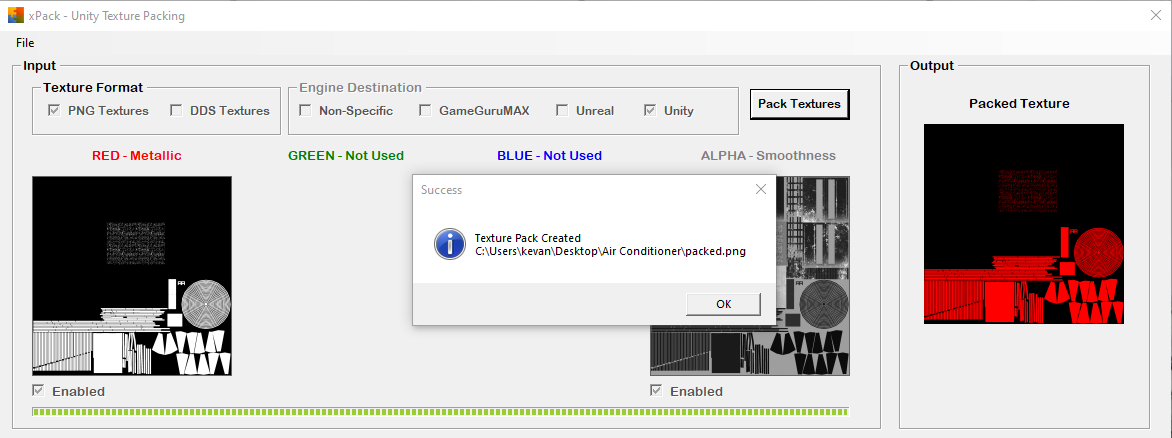
what engine you are creating the packed texture to work with, i.e this is a Unity Smoothness-Metallic Map so the metallic texture would be
loaded into the RED channel and the smoothness texture would be placed into the ALPHA channel, GREEN and BLUE channels are not used
so it is important to untick/unselect the channels not being used otherwise the generated packed texture will not be right.
To load the inputs simply right click in each channel
***Please note input textures need to be power of 2 i.e 512x512, 1024x1024, 2048x2048 etc...
once you have loaded your inputs click on Pack Textures, you will be given the option to resize the output image.
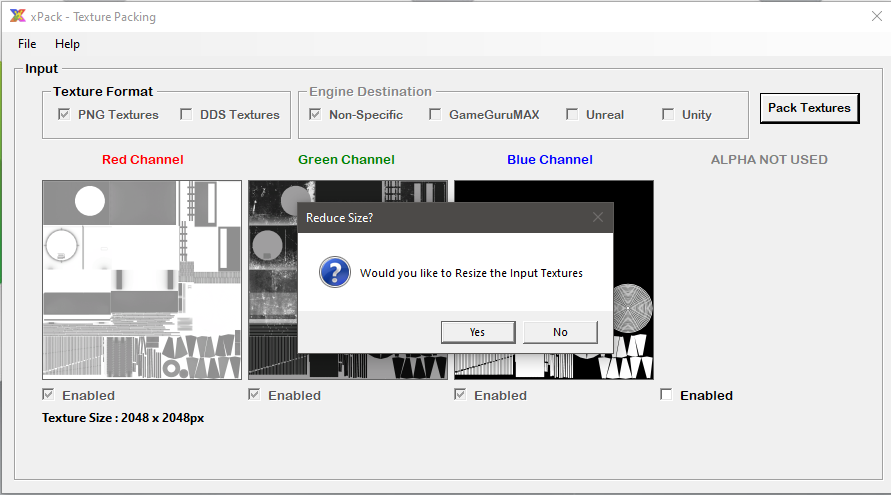
If you select 'Yes' from the prompt further options will be available to choose a size for your image, if you choose 'No' the inputs will be
packed at the Texture Size stated.
once the packed texture is generated you will be prompted to save your map

once saved click the OK button on the pop-up message, you will then be able to create another packed texture.